Lori Janeson on Why Manitoba Is a Kayaker’s Paradise

Featured

Lori Janeson on Why Manitoba Is a Kayaker’s Paradise

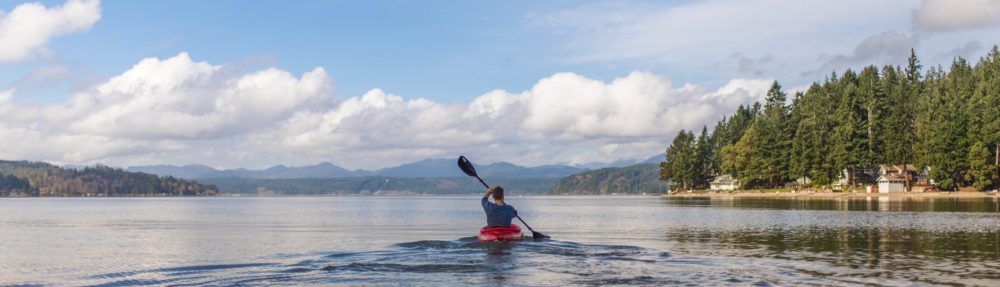
Longtime local Lori Janeson loves taking kayaking trips in Manitoba. It’s probably her favorite outdoor activity.

She loves sharing tips and stories about Manitoba kayaking with outsiders and fellow enthusiasts alike. In fact, she’ll tell anyone who’ll listen — including you — that Manitoba is a kayaker’s paradise.

Why Manitoba Is Canada’s Best Kayaking Destination

This is surely a controversial position, especially for our friends just over the border in Ontario, but it’s far from indefensible. Though it’s known as a paradise for outdoor adventurers of all stripes, Manitoba’s endless supply of uncrowded lakes and rivers makes it a truly world-class destination for paddlers.

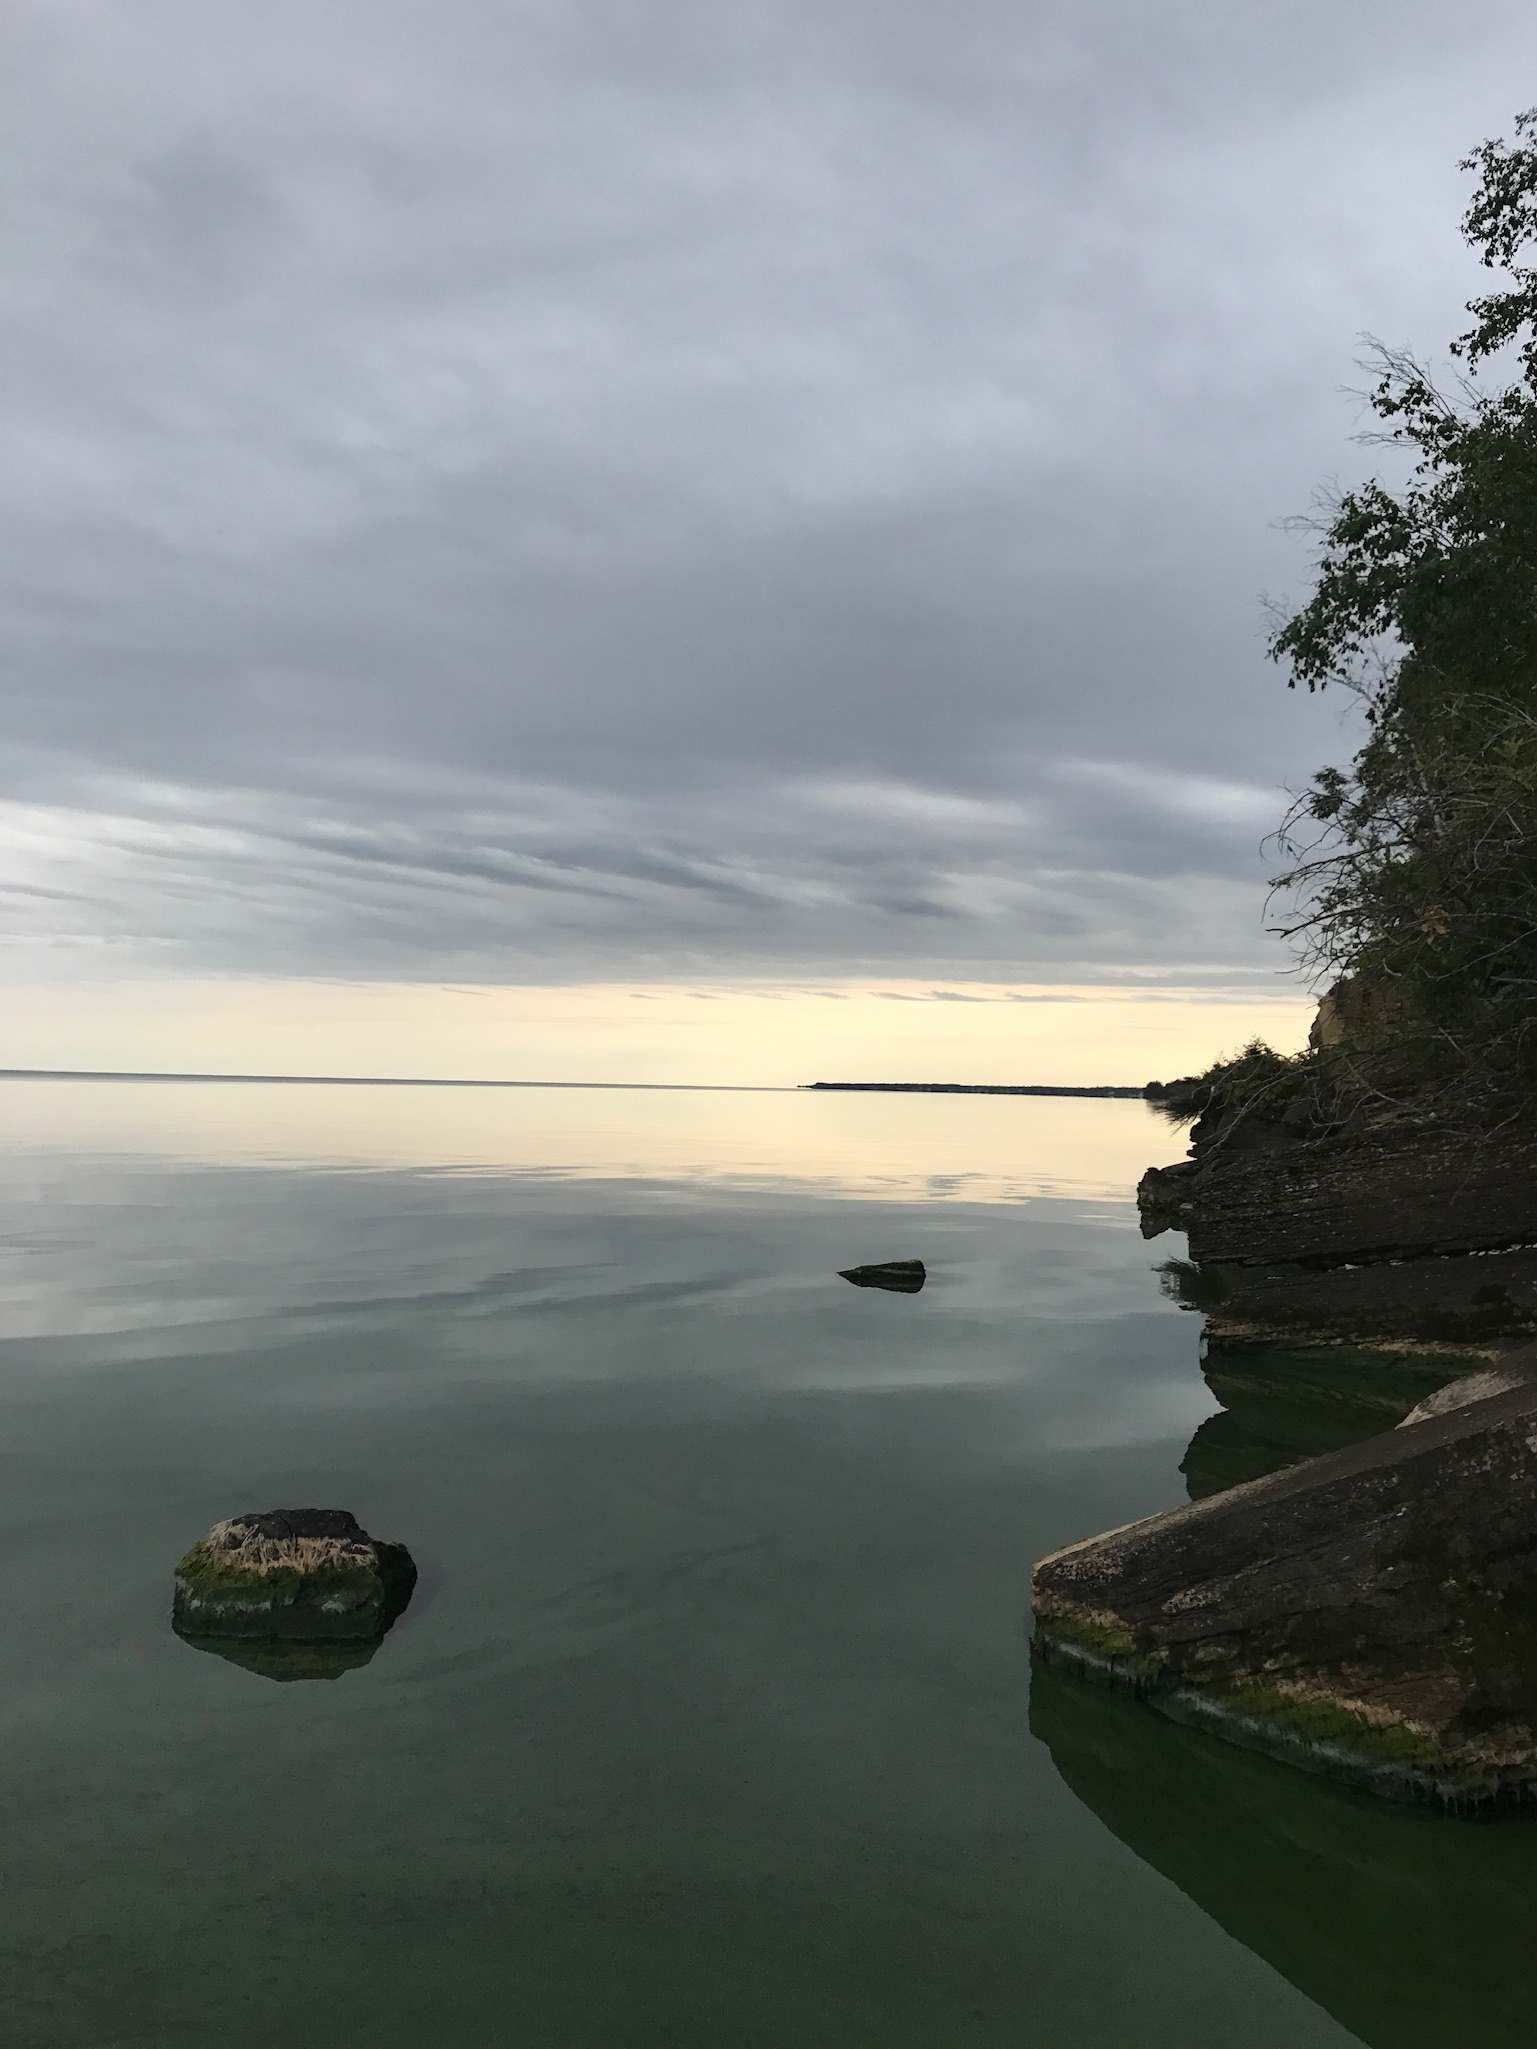
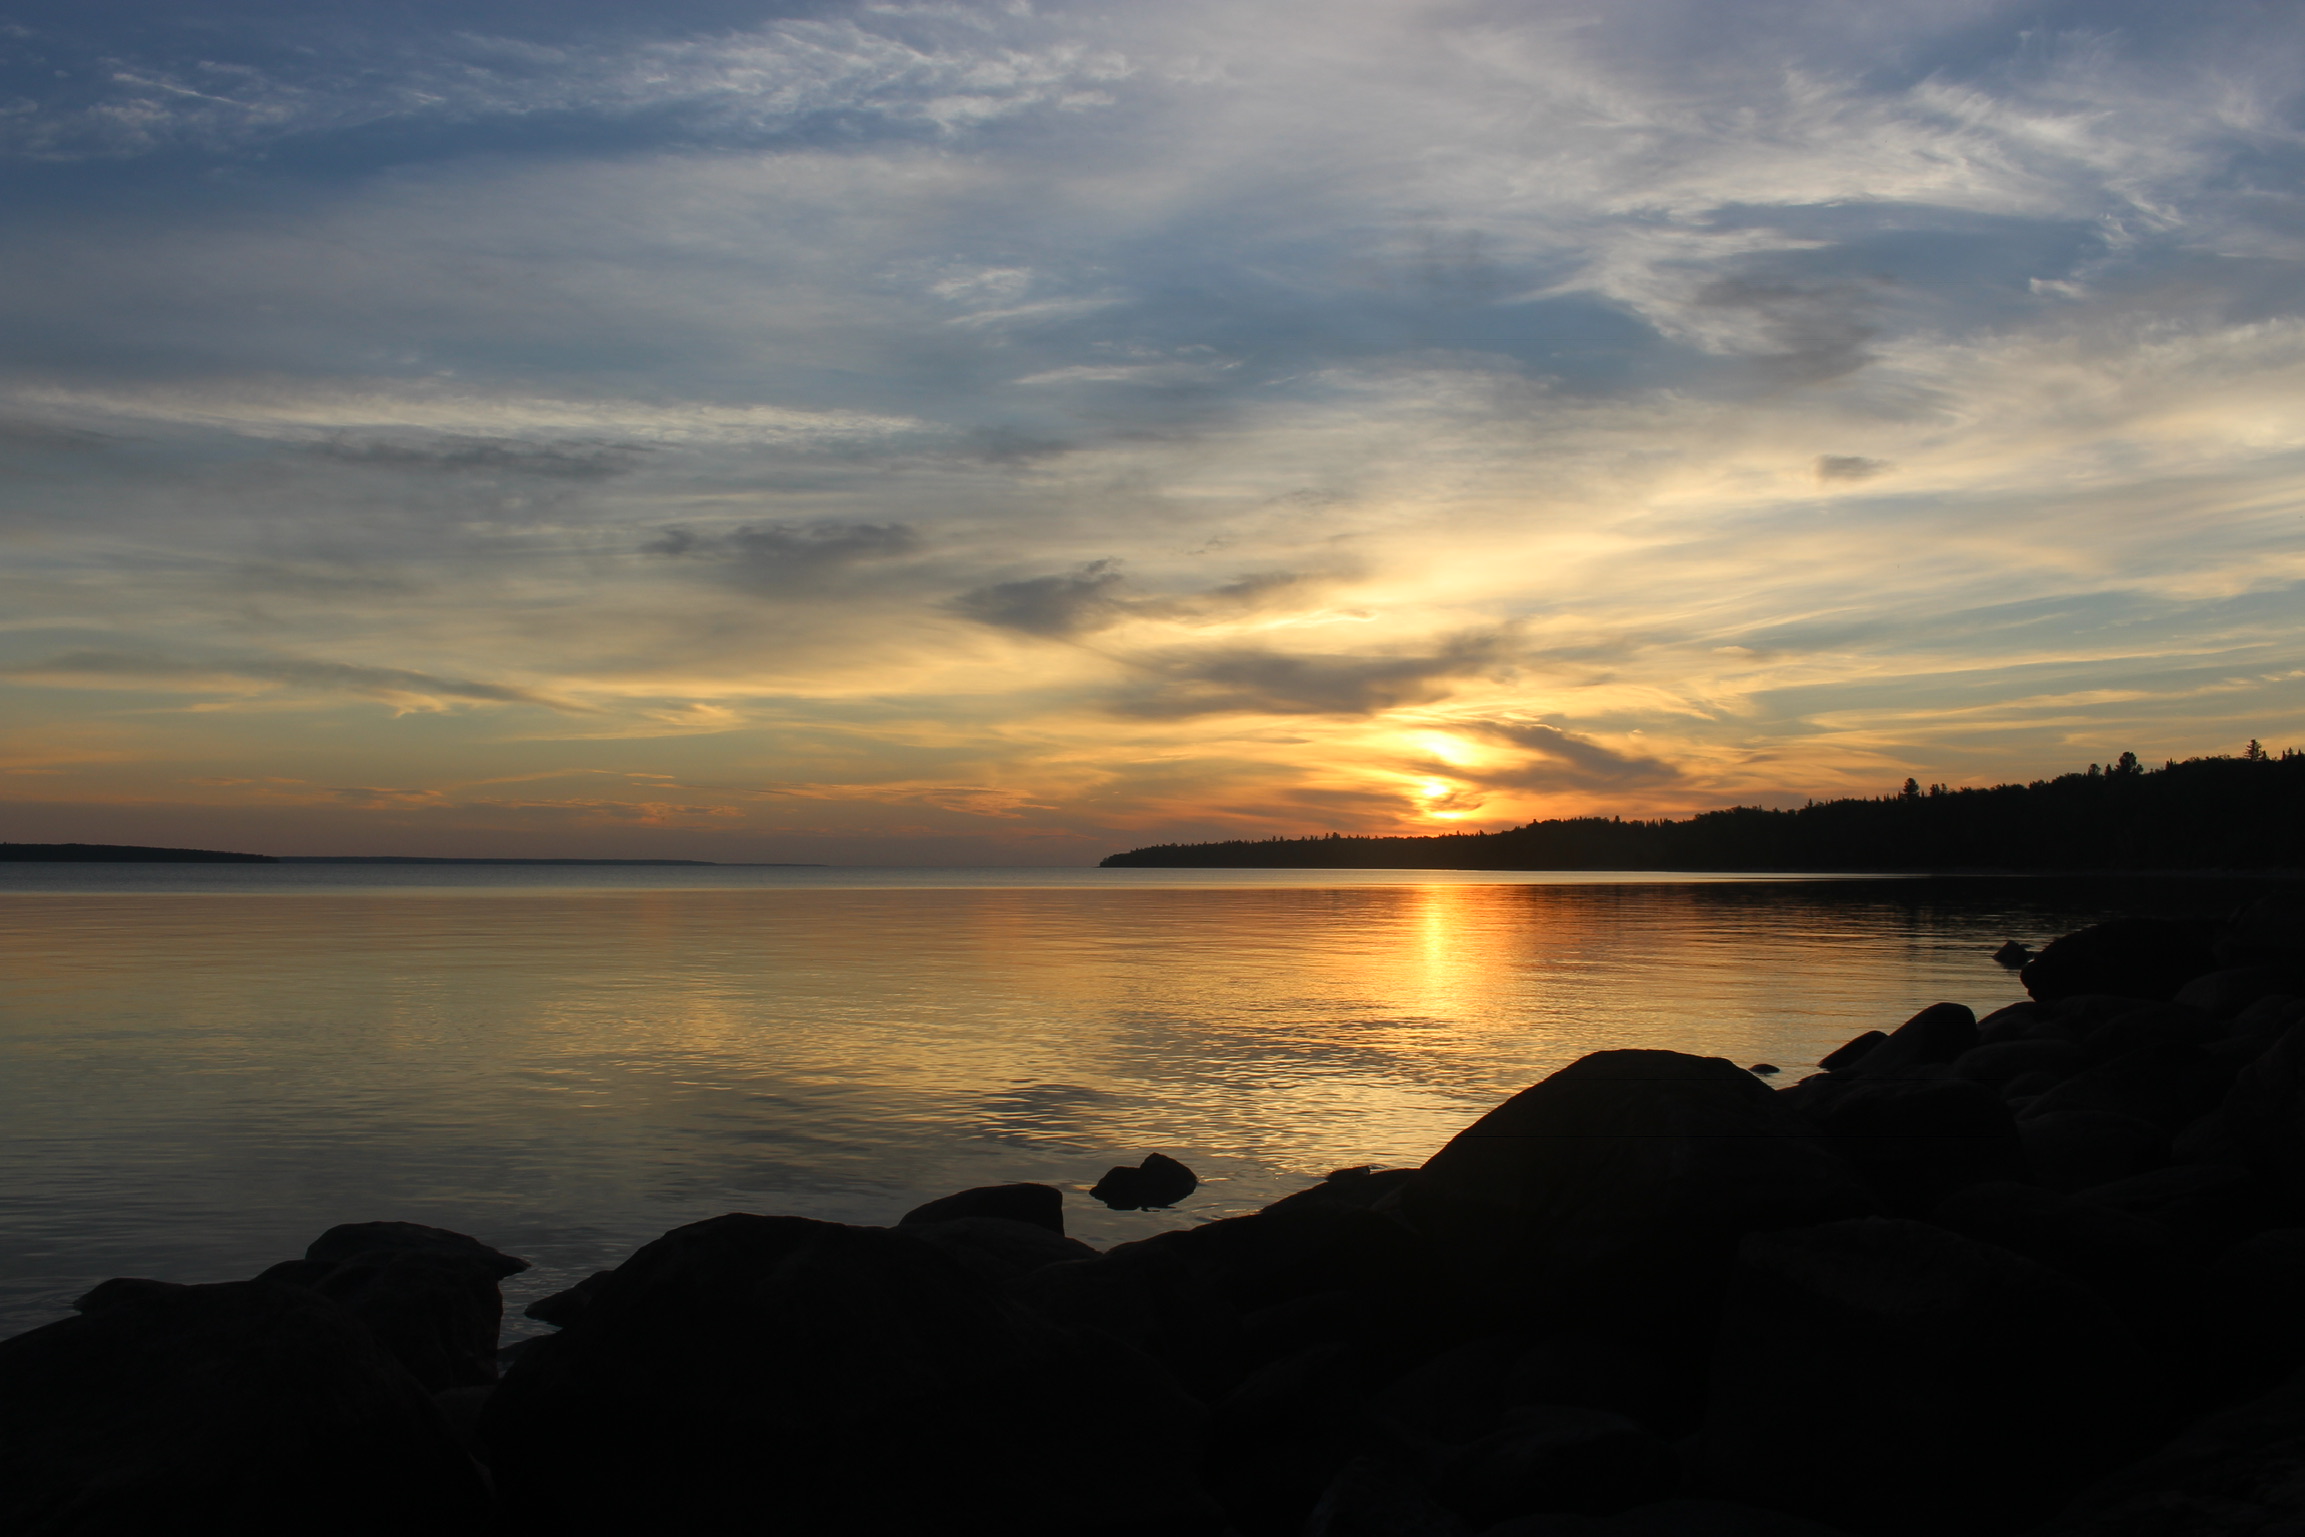
What sets Manitoba apart in particular, says Lori Janeson, is the character of its waterways. As a prairie province, Manitoba is a pretty windy place. Rough water is definitely a hazard here. But the southern half of Manitoba, not long ago submerged at the bottom of a glacial lake, is among the flattest places in North America. Its rivers are therefore unusually gentle — perfect for long, unhurried paddles.

What Is the Interlake?

Much of this vast flatland is occupied by the Interlake, a subregion that’s the indisputable heart of Manitoba’s kayaking scene.

Lori Janeson lives in the Interlake region. So do tens of thousands of her fellow Manitobans. It’s a narrow, irregularly shaped piece of land that lies between Lake Winnipeg, Lake Manitoba, and Lake Winnipegosis.

The Interlake’s eastern and western boundaries are self-evident. The north and south boundaries are more arbitrary. By most definitions, the northernmost section of land between Lake Winnipeg and Lake Winnipegosis is actually not included in the Interlake — though it’s still a great place to put in your kayak.

The Interlake is peppered with hundreds of smaller lakes and several navigable rivers. It also has plenty of sights to see on dry land, and most of Manitoba’s lively summer beach communities as well.

Lori Janeson: My 8 Favorite Spots to Kayak in Manitoba

Not all of Lori Janeson’s favorite Manitoba kayaking spots are in the Interlake. Here’s a look at eight of her top paddling destinations across the province. All are accessible by paved road — a key distinction between more wild routes in the northern part of the province.

1. Elk Island Provincial Park

Located near the southern end of Lake Winnipeg, Elk Island Provincial Park encompasses an isolated, heavily forested island that’s super fun to paddle around. It’s not big at all, and there’s plenty of beach space to park your boat for a picnic.

2. Gull Harbour (Hecla Island)

Hecla Island’s Gull Harbour area is a beautiful piece of land in a beautiful part of Lake Winnipeg. Be sure to spend some time on the island as well — there’s a historic Icelandic-Canadian fishing village, dozens of kilometers of hiking trails, swimming beaches, and multiple lodging options. Janeson spends a lot of her time around here; it’s truly one of her favorite spots in the whole province.

3. Gimli

Gimli is one of the most popular beach communities on Lake Winnipeg. Its population swells during the summer, when outdoorsy people-watchers take to the harbor in the kayaks or sailboats. Come during the Icelandic Festival of Manitoba, which attracts 50,000 people each year with an array of family-friendly cultural events.

4. Grand Marais

Grand Marais is a photogenic point on the southeastern shore of Lake Winnipeg. It’s a great place to spend a leisurely afternoon paddling near shore. Keep your eyes peeled for water birds standing in the shadows, birds of prey soaring overhead, and large mammals on the shore.

5. Winnipeg River

The Winnipeg River flows into Lake Winnipeg from the southeast. The whole thing is beautiful, but it makes sense to start your paddle on Lac du Bonnet and head toward the big lake. This is one of Lori Janeson’s favorite long-distance paddles in her home province.

6. Manigotagan River

The rugged Manigotagan River is the perfect place to get your pulse pounding — though it’s probably not ideal for beginners. Be sure to review kayak safety before you head out here.

7. Caddy Lake

Caddy Lake is notable for the man-made tunnels blasted through the rock here. They’re artifacts of a railroad-building spree early last century, and while one could argue that they mar the otherwise unspoiled wilderness, they’re definitely an interesting sight to see.

8. The Narrows (Lake Manitoba)

One of the most picturesque lake paddles in the whole province is The Narrows, an appropriately named natural channel between two sections of irregularly shaped Lake Manitoba. According to Lori Janeson, an avid amateur nature photographer, The Narrows is perfect for shore photography. Remember your camera!

Prepping for a Manitoba Paddle? How to Get Here & What to Know Beforehand

If you’ve never been to Manitoba, you’re in for a treat. There’s no better way to experience the province than on its placid waters.

Before you arrive, you’ll need to know a few things about Manitoba. Janeson tells first-timers to:

  • Prepare for changeable weather conditions: Even during the “warm” season, Manitoba’s weather is highly changeable. Rain showers and storms can kick up with little warning, even on apparently clear days. Always have a poncho or raincoat handy if you’re not within easy dashing distance of shelter.
  • Dress warm: It can get hot in Manitoba, but summer nights are reliably cool, especially as you head further north. From September through May, expect freezing weather (or close to it) in the morning. And remember, lake winds can really add an edge to an otherwise pleasant day.
  • Expect bugs: Lots and lots of bugs. Within a few weeks of the spring thaw, mosquitos, blackflies, and other pesky insects make their presence known. Near shore, they’re especially vicious. Bring plenty of bug spray.
  • Embrace isolation: Manitoba’s uncrowdedness is part of its charm, but it’s something of a double-edged sword: If you get into trouble in the backcountry, help could be a long way off. Always tell others where you’re going and have a way to get in touch with the outside world.

That’s it. You’re ready for your Manitoba kayaking adventure. Paddles up!

Stay Safe in Your Kayak — What to Do When You Get in Trouble

By Lori Janeson

No matter how well you’ve prepared for your paddle, there’s always a chance that something will go wrong.

What that “something” is, and how perilous it becomes, depends on a slew of factors: where you are, what kind of craft you’re in, weather conditions, water conditions, and much more.

What follows is a look at what to do in a specific type of situation: a “wet exit.”

When to Use the Wet Exit Technique

A wet exit is necessary when your kayak capsizes with the spray skirt in place, trapping you underwater. It’s a scary moment, even for veterans of kayak emergencies. Every second counts, so it’s incumbent upon you to think quickly and follow the wet exit procedure. Unsurprisingly, this is one of the first skills taught in kayaking courses.

There are two main ways to execute a wet exit: by yourself and with the assistance of another kayaker.

How to Execute a Wet Exit By Yourself

If you’re by yourself, you’ll have no choice but to do it all yourself. Don’t worry — kayaks and spray skirts are designed to accommodate you here. Just make sure your spray skirt’s grab loop is within arm’s reach before you leave shore. If you wait to check until you’ve capsized, you’ll be too late.

Follow these steps to execute a solo wet exit:

  • Drop your paddle away from the kayak so you have your hands free.
  • Take a full breath.
  • Tuck your head toward your chest to reduce your chances of striking submerged objects.
  • Reach along the sides of the kayak’s cockpit until you find the grab loop.
  • Take the loop in your hands and push your arms forward to pop off the skirt.
  • Try to lift the skirt behind you, so that your route out of the cockpit is unobstructed.
  • Place your hands on the back half of the boat (behind you) without straining your shoulders, if possible.
  • Push down on the boat and lift up your knees to launch yourself out of the cockpit. You’ll need to clear the thigh braces.


“This maneuver should be sufficient to get your head above water. If you’re still upside down, remain calm and try to orient yourself, then swim in the correct direction away from the boat.”—Lori Janeson


If you’ve lost contact with your boat during the wet exit, you’ll need to find it (and your paddle) as soon as you’re safe. Then:

  • Secure your boat with your foot in the cockpit. Yes, this is awkward, but it’s better than using your hands, as you’ll see.
  • Grab your paddle float and inflate it.
  • Put one of the paddle’s blades into the float’s sleeve and secure it.
  • Remove your foot from the cockpit and grab the far side of the cockpit opening border (coaming).
  • Pull the far side toward you while pushing the near side away, rotating the boat 180 degrees on the x axis.
  • Place the floated blade into the water and move the paddle perpendicular to the boat’s cockpit.
  • Holding tight to the paddle, use a frog kick to launch yourself out of the water and into the boat. This requires some core strength.
  • Drain excess water from the cockpit and reattach the spray skirt.

How to Execute a Wet Exit With Assistance

If you’re in a group, your wet exit will be a little less dramatic. However, it’ll require some teamwork. Here’s how to do it.

The exiting portion of the maneuver is basically the same. If another paddler is close enough to reach your boat, they should tap loudly on the bottom of your capsized craft to alert others that you need help.

Next, follow this procedure:

Continue reading

Are You Prepared for a Long-Distance Paddle? 12 Things to Bring

By Lori Janeson

Prepping for a long-distance paddle in a canoe or kayak isn’t quite the same as getting ready for a weekend of camping. Sure, there’s some overlap in your packing and to-do lists, but you’ll be sorely under-prepared if you treat your paddle like just another jaunt into the woods or a quick day paddle around your local beach.

That’s not to say you need to be intimidated by the prospect of a few days — or even longer — on the water. Like the old adage says, you just need to “always be prepared.”

Here’s a look at 12 of the most important things you’ll need to bring on your long-distance paddle, plus a few additional items to remember before you head out on river, lake, or sea.

1. A Sturdy, Appropriate Watercraft

Your ideal watercraft will depend on the size of your party and the type of trip you’re planning.


“On a leisurely trip with your partner or a couple friends, an aluminum or fiberglass canoe might be your best bet.”—Lori Janeson


If you prefer your own craft, opt for freshwater kayaks — you can find two-seaters if you and your partner are inseparable. On open water prone to swells, sea kayaks are ideal, as freshwater kayaks capsize easier in rough water.

2. Waterproof Containers

Bring a dry bag big enough to hold any possessions you don’t want to get wet: electronics, clothing, cooking equipment, sleeping gear. Make sure it seals tightly, especially if you plan to travel on rough water. And don’t forget a “waterproof container” for yourself — i.e., a spray skirt that covers your cockpit opening.

3. Local Maps

Bring local water and land maps with as much detail as possible. Your water maps should be official navigation maps, if possible — i.e., maps that show actual distances to scale and detailed depth readings. Look for topographical land maps — though they’re more expensive, they provide valuable insight into the local terrain and can help you plan your put-out sites ahead of time.

4. Signal Whistle

Your signal whistle alerts others that you’re in distress. Hopefully you won’t have to use it, but you’ll be thankful you brought it if and when you do.

5. Bilge Pump

Bilge pumps force excess water out of your cockpit, keeping your feet dry and your boat sitting high in the water. Even if you don’t capsize or hit a wave, your bilge pump will help keep excessive spray under control.

6. Spray Skirt

A spray skirt deflects excess water away from your cockpit in the first place. With a spray skirt, you’ll still want to use a bilge pump, but it won’t need to work as hard.

7. Reliable Lights

If you plan to paddle after sunset or in the early morning, you’ll need a headlamp and reliable flashlight. You’ll need a flashlight in any case, if only to move safely about your campsite.

8. Paddle Leash and Floats

A paddle leash keeps your paddle within easy reach. A paddle float is useful for spotting an errant paddle in open water, and for helping you back into your boat without necessitating a trip to shore.

Continue reading

Which Kayak Is Right for You? How to Choose Your Next Craft

By Lori Janeson

In the market for a new kayak?

Sorry to say, there’s no such thing as a one-size-fits-all kayak. Kayaks come in several different forms, and it’s critical that you choose the right one for your needs.

What follows is a general overview of the major types of kayaks and their suitability. Use it as the basis for further research as you work toward what’s hopefully the most gratifying purchase of your recreational career.

Calm-water Kayaks

More popularly known as “recreational kayaks,” calm-water kayaks are what most people picture when prompted to imagine a kayak. They’re usually at least 10-feet long and relatively heavy, so they’re not great for portaging.

However, they’re quite wide, and therefore stable in calm water. That makes them ideal for laid-back paddles and for excursions on which the kayak is a means to an end — for instance, fishing trips. With generous cockpit openings, they’re also fairly easy to enter and exit without assistance. Their biggest weakness is poor tracking: It takes a lot of effort to keep them moving on an efficient heading.

Modular Kayaks

Modular kayaks are great for mobile paddlers. If you don’t have a large vehicle with roof or rear racks adequate for safe kayak transport, opt for a modular kayak.


“Most separate into two or three pieces small enough to fit into a large trunk (or seat-down cargo area). They’re ideal for paddlers with limited storage space at home as well.”—Lori Janeson


Modular kayaks are more easily customized than other types of kayaks. For instance, if you sometimes paddle solo and sometimes paddle with a partner, you can buy an extra cockpit section and turn your boat into a tandem at will.

Inflatable Kayaks

Inflatable kayaks are even more space-efficient than modular kayaks. Despite the flimsy-sounding name, they’re nearly as sturdy as fixed-frame kayaks. The major downside: They’re harder to paddle. Some do have rigid skeletons or floor bars that help them move through the water, but those only go so far.

Folding Kayaks

Folding kayaks blend the space-efficiency of inflatable kayaks with the sturdiness of modular kayaks and the reliability of touring kayaks (see below.) They have rigid frames, which means they’re easier to paddle in open water, but they can fit into a bag small enough to sling over your shoulders for storage.

Folding kayaks’ portability makes them ideal for excursions on remote bodies of water that are difficult or impossible to access with your passenger car or truck. If you’re planning to do a lot of kayak camping, this type of kayak should be at or near the top of your list. Plus, as long as you’re not in a rush, folding kayaks are great for portaging — you can assemble and disassemble them in less than 15 minutes.

Continue reading